
Introduction
Have you ever wondered how to paint kitchen cabinets without spending thousands on a remodel? The good news is you can! With the right prep and tools, even old, outdated cabinets can look brand new.
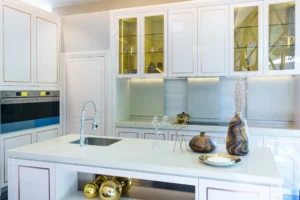
Painting kitchen cabinets is one of the most budget-friendly DIY projects that instantly upgrades your space. Instead of replacing cabinets, a fresh coat of paint adds color, style, and personality to a room.
In this guide, you’ll learn every step, from preparing your cabinets and smoothing them out to applying primer, painting, and sealing, so you can achieve a great result without hiring someone else.
Table of Contents
1. Why Painting Kitchen Cabinets Is Worth It
Painting is less expensive than replacing cabinets and allows you to customize your kitchen. A DIY cabinet paint job can save you $2,000 to $5,000, depending on the size of your kitchen.
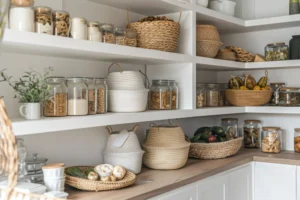
Additionally, painted cabinets are a popular trend in modern farmhouse, minimalist, and coastal kitchens.
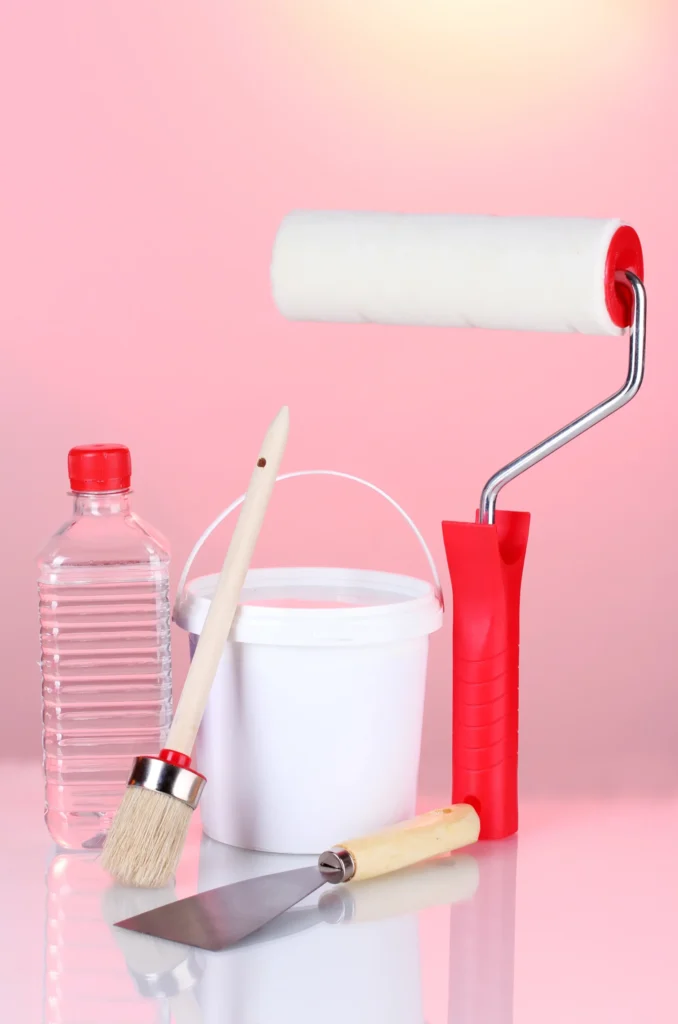
2. Tools and Materials You’ll Need
- Screwdriver & painter’s tape
- Drop cloths & plastic sheeting.
- Degreaser or TSP cleaner
- Sandpaper (120–220 grit) or liquid deglosser
- Good primer that helps paint stick
- Cabinet paint (latex, enamel, or chalk paint)
- Brushes, rollers, or a paint sprayer
- Clear protective finish
3. Step 1: Remove Doors and Hardware
Take off cabinet doors, hinges, and knobs. Label them so reinstalling is easy. Removing hardware ensures smooth coverage and prevents paint drips.
4. Step 2: Clean and Prep the Cabinets
Cabinets collect grease, dust, and grime. Clean thoroughly with TSP cleaner or vinegar solution. A clean surface ensures primer and paint stick properly.
5. Step 3: Sanding vs. No-Sanding Options
- Sanding: Lightly sand glossy surfaces with 220-grit sandpaper.
- No-Sanding Method: Use a liquid that removes shine and a primer that helps paint stick for faster results. This works well for laminate cabinets.
6. Step 4: Priming for a Smooth Finish
Primer prevents stains from showing through and helps the paint adhere. For oak or laminate, use a primer that blocks stains and helps the paint adhere.
7. Step 5: Choosing the Best Paint for Cabinets
- Latex Paint: Easy to use, quick drying.
- Enamel Paint: Durable and long-lasting.
- Chalk Paint: Good for a flat, farmhouse-style look.
Recommended finishes: satin or a little shiny for cabinets that last and are easy to clean.
8. Step 6: Applying Paint (Brush, Roller, or Sprayer?)
- Brush: Best for detail work.
- Roller: Smooth coverage on flat surfaces.
- Sprayer: Very smooth, like new cabinets, but takes more time to set up.
Apply two coats of paint for even coverage, allowing each coat to dry for 24 hours.
9. Step 7: Sealing and Protecting Your Cabinets
Seal with a clear protective finish for extra protection. This helps stop chips, scratches, and stains, so your cabinets last longer.
10. Common Mistakes to Avoid
❌ Skipping cleaning before painting
❌ Not priming glossy or laminate surfaces
❌ Using the wrong type of paint
❌ Painting in humid or dusty conditions
❌ Rushing between coats
Conclusion
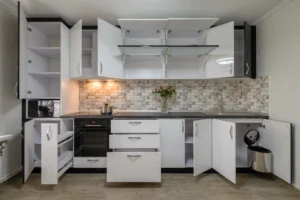
Learning how to paint kitchen cabinets is easier than you think. With proper prep, the right tools, and patience, you can transform your kitchen on a budget.
Are you ready to give your cabinets a fresh new look? Gather your supplies and get started today. Each time you walk into your kitchen, you’ll be glad you did.
FAQ’s
Q1: What is the best paint for kitchen cabinets?
High-quality latex or enamel paint in satin or semi-gloss finishes.
Q2: Do I need to sand cabinets before painting?
Not always. Use a deglosser and bonding primer if you want to skip sanding.
Q3: How much does it cost to paint kitchen cabinets?
DIY: $200–$600. Professionals: $1,000–$3,000.
Q4: How long do painted cabinets last?
With proper prep and sealing, 8–10 years.
Q5: Can I paint laminate kitchen cabinets?
Yes, but use a bonding primer for adhesion.
Q6: How many coats of paint are needed?
At least two coats of paint + one topcoat.
Q7: How long does it take to paint cabinets?
Around 3–5 days, including drying and sealing.